
In an effort to recognize there is a general lack of earth science resources for K-5 teachers, AGI has developed the resources on climate, fossils, rocks, soil, water, and weather. A solid background in content matter in addition to using engaging hands-on activities can help instill a love of earth science in your students.
Climate
Elementary students are likely to find the study of climate interesting because it directly relates to their surrounding environment. Additionally, learning about climate change can empower them with knowledge to understand environmental issues that impact their future.
Fossils
Elementary students are likely to find the study of fossils interesting because it allows them to uncover clues about prehistoric creatures and ancient worlds, sparking their imagination. Additionally, fossils provide a tangible connection to the past, making it easier for young learners to grasp concepts about evolution and Earth’s history.
Rocks
Elementary students are likely to find the study of rocks because many rocks are visually fascinating. Additionally, learning about rocks helps them understand Earth’s processes, such as how mountains are formed or how landscapes change over time.
Soil
Elementary students are likely to find the study of soil interesting one they realize how essential it is to environmental health. Additionally, understanding soil helps them learn about plant growth and ecosystems, connecting science to everyday life.
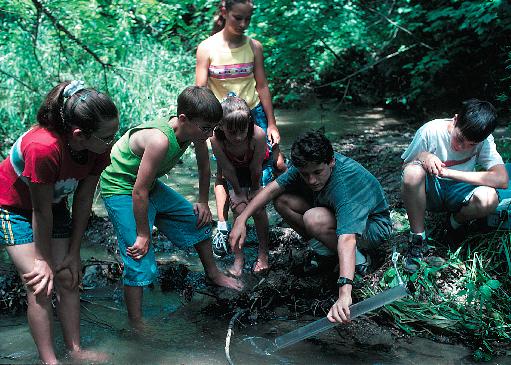
Water
Elementary students are likely to find the study of water interesting once they realize how unique water’s properties are in comparison with other Earth materials. Additionally, there are many hands-on activities with water, making the learning process engaging and interactive.
- Educator Background
- Building the Water Cycle Diagram
- Curriculum on How Water Moves Through the Environment
Weather
Elementary students are likely to find the study of weather interesting because it involves observing and predicting daily changes in their environment, which they encounter firsthand. Additionally, learning about different weather phenomena, like storms or rainbows, can be exciting and relatable, making science feel more relevant to their everyday lives.
Please let us know if there additional topics you would like to see on this page by emailing us at outreach@americangeosciences.org
Join our Teaching and Learning Academy!
Every summer, AGI hosts in-person professional development for educators who are new to earth science teaching roles.
See the Teaching and Learning Academy (TLA) page for more information.